remote cradle
Overview
Role: Designer + End User
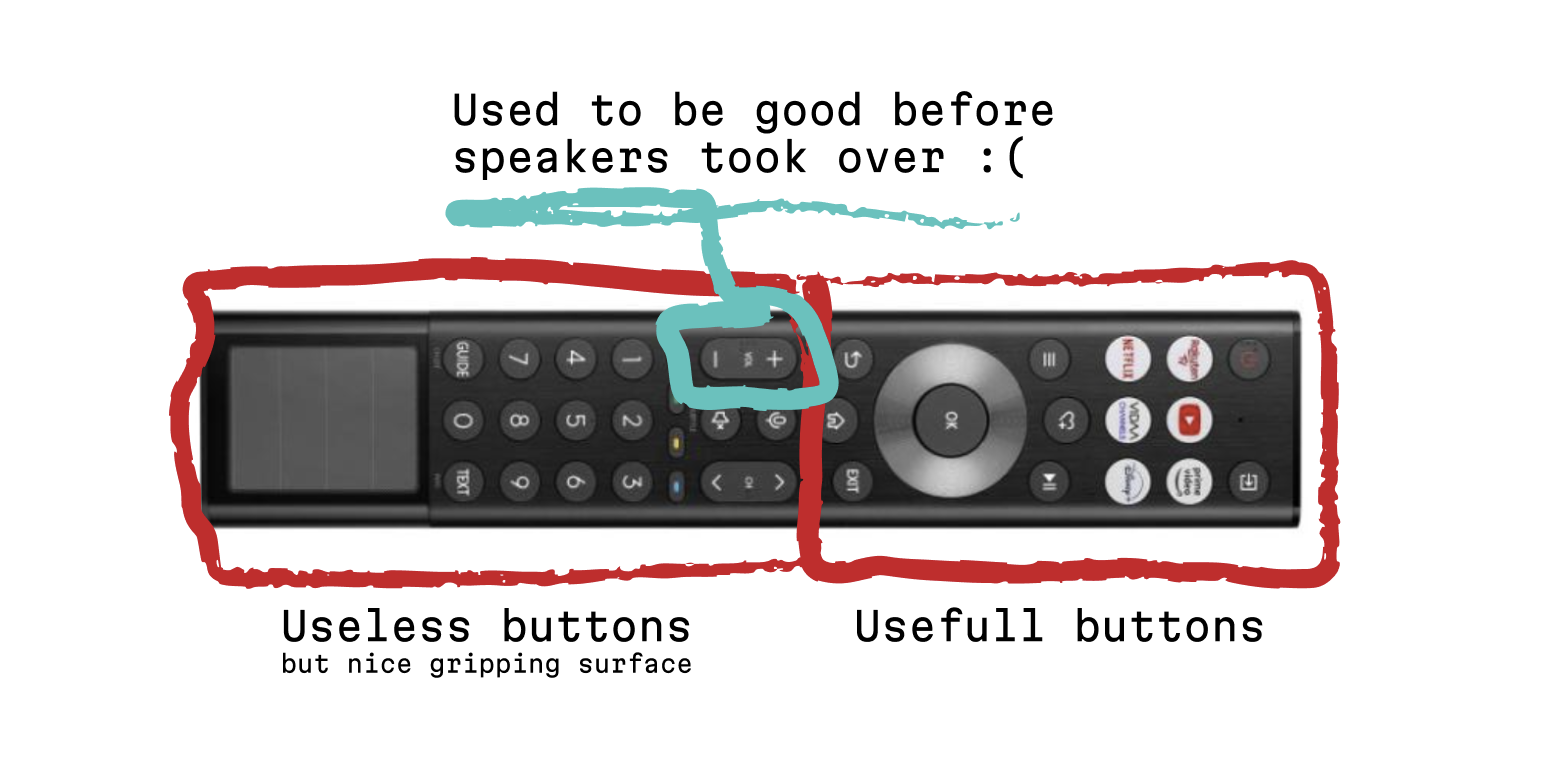
Recently I got a vinyl player and some speakers. Now these speakers are also plugged into my TV via optical cable, which presents an issue: the TV remote no longer controls sound, and instead the audio is now handled by the speakers' remote. This presents me with the most first-world problem of too many damn remotes.
To solve it, we did the obvious... brushed off AutoCAD (well, technically OnShape) and designed a 3D printable cradle for these specific remotes.
Final product in case you have a hisense tv(using weirdly long remote) and edifier speakers combo and want to 3d print it yourself.
Details
Design process
Below is a quick summary of design process, exploration and user testing
Researching ergonomics and placement
I started by observing the ergonomics of both offending remotes. The TV remote is very long, but essentially I'm only using the top section buttons — the bottom section only has channel buttons and a solar charging panel. So straight away, I thought utilizing the dead space at the bottom of the remote made the most sense, and attaching the speakers' remote to the other side seemed like the logical approach for an initial prototype.
If the above approach wouldn't have worked, I was considering making a kind of little nest to place both remotes in neatly. But our sofa is too large for a central spot, and the remotes don't really have a consistent resting place, so I left that as plan B.
Start of Design
I'm relatively new to messing with CAD, but this felt like a perfect little learning task. My software of choice was OnShape since it's free and relatively user-friendly. My workflow worked out like this:
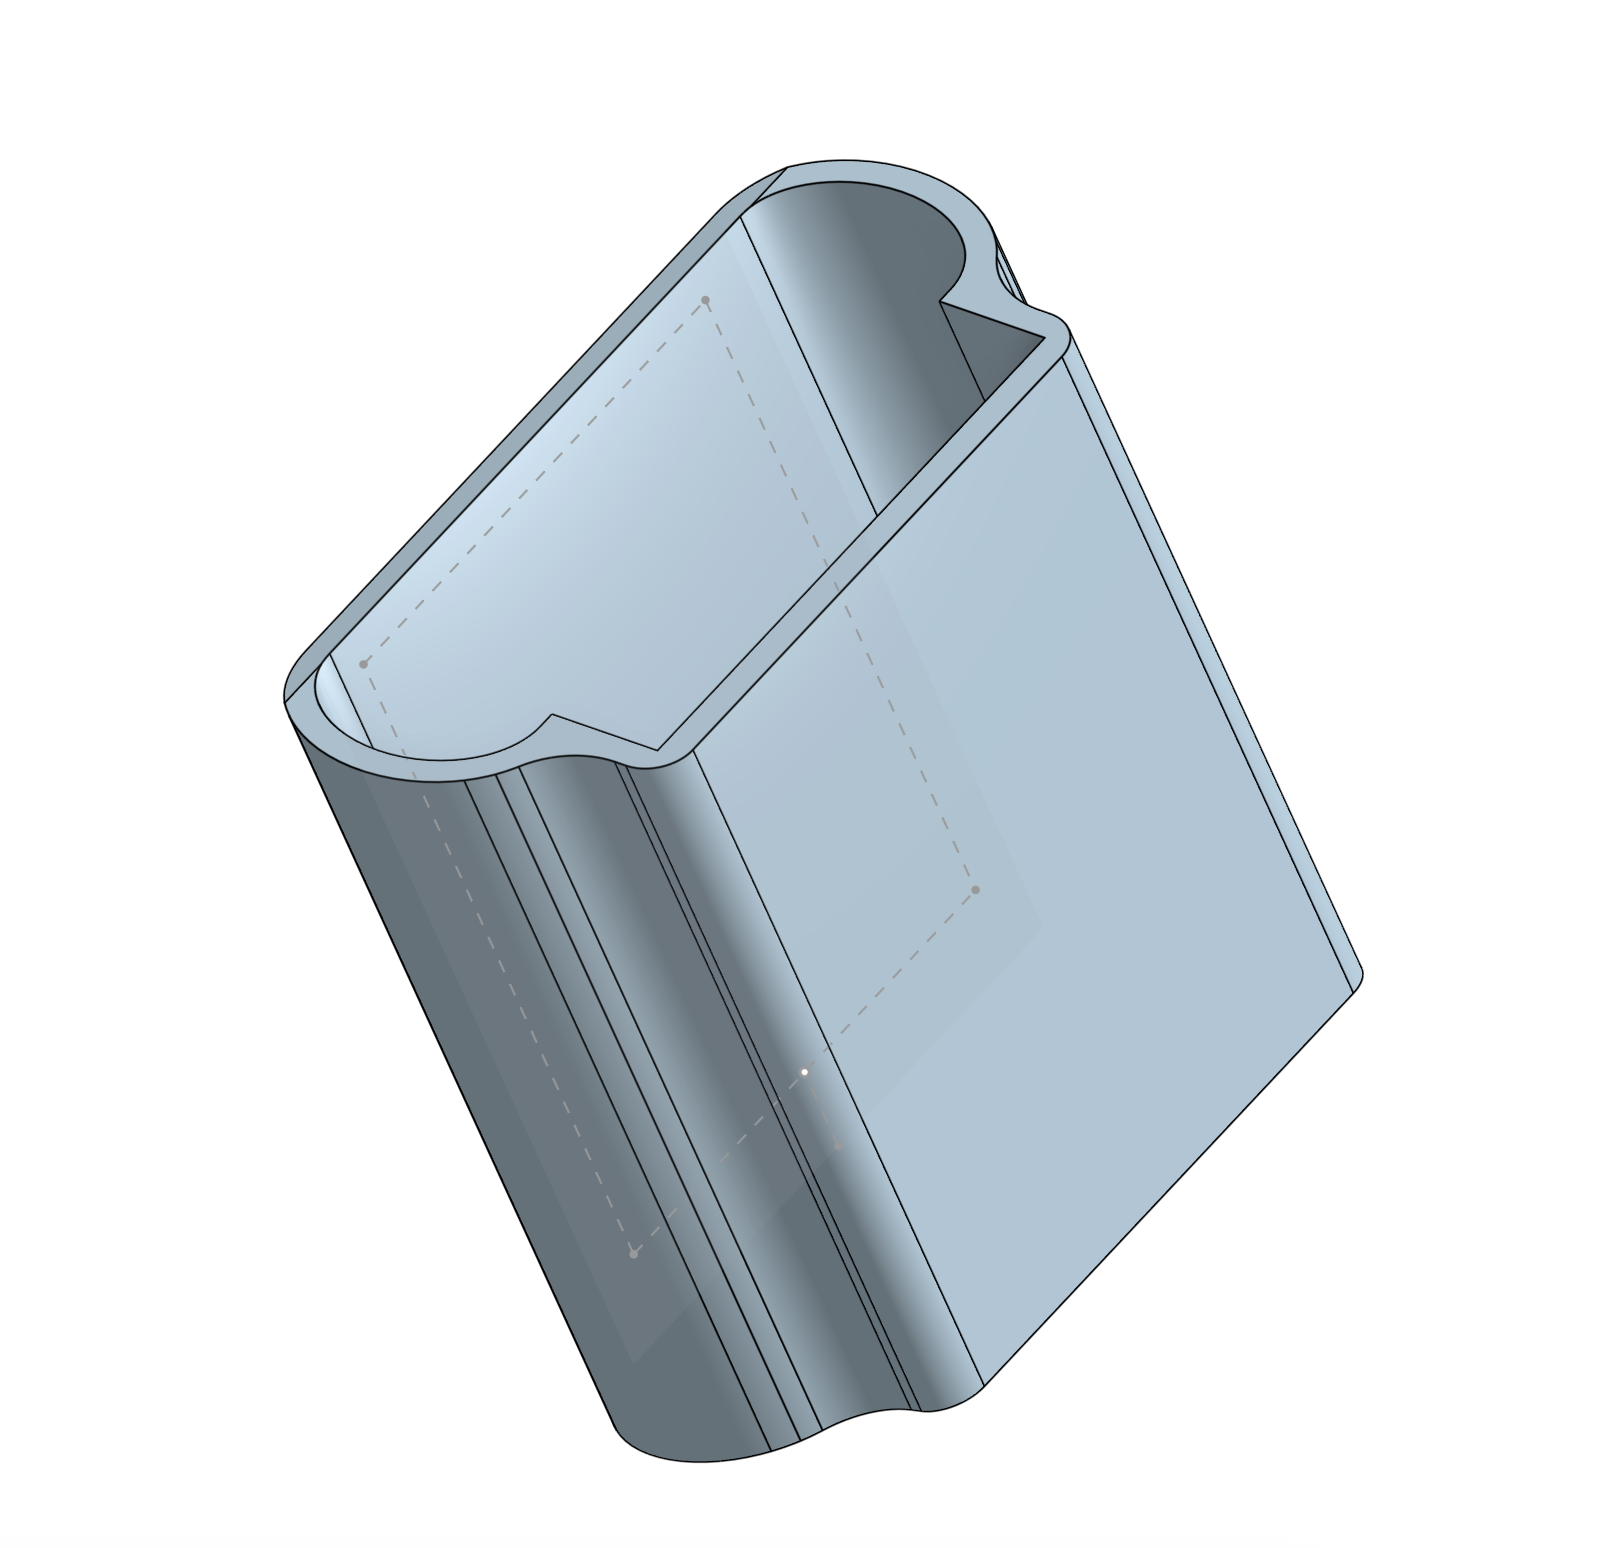
Defining initial shape
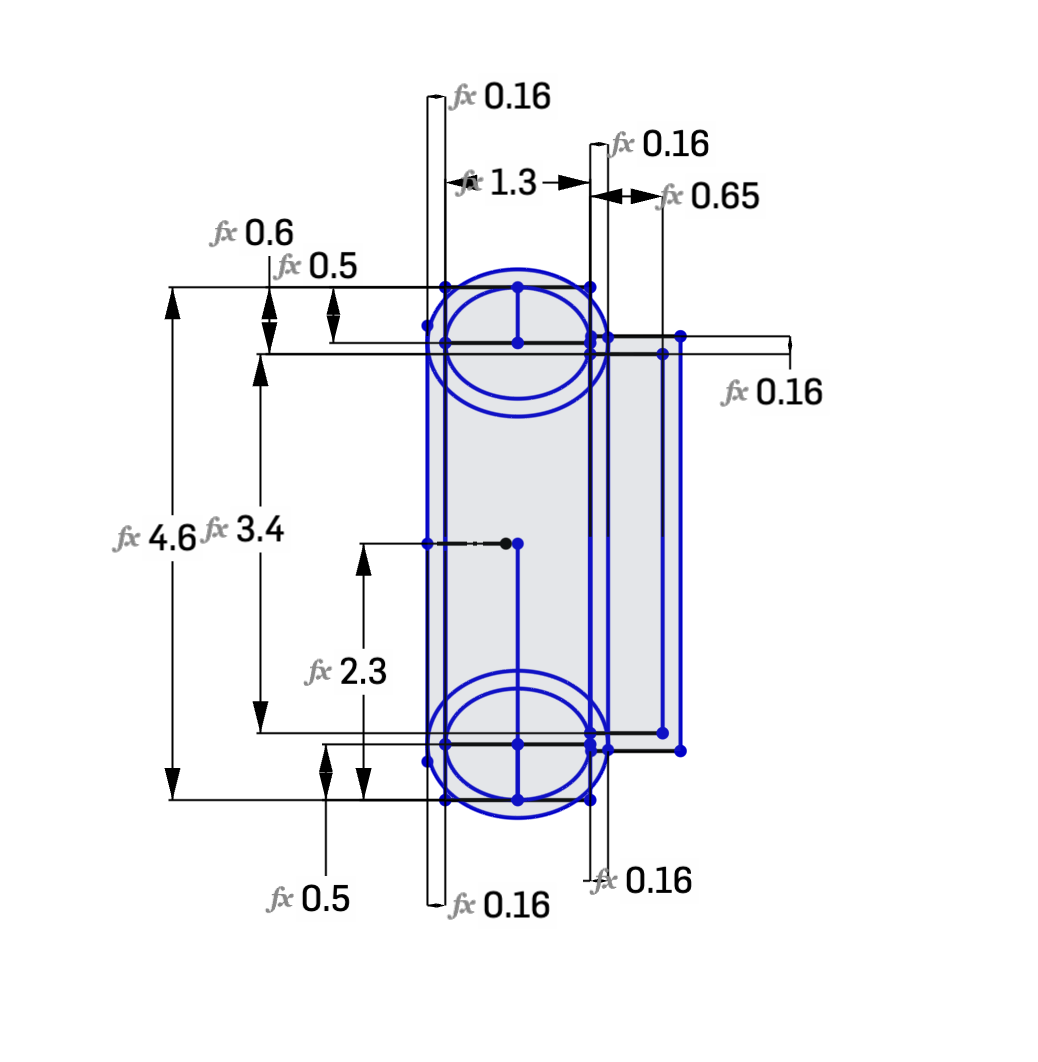
Beggining with rough sketches and defining measurements as variables allowed for easy modifications down the line where the whole design updates automatically. This ensured the design was easy to modify down the line.
I defined the positions of both remotes next to each other, with some margin of error to avoid making the fit too tight. Then I expanded the sketch outwards by 0.16mm, which knowing the limits of my 3D printer, hits the sweet spot where it feels sturdy but not bulky.
Adding dimensionality
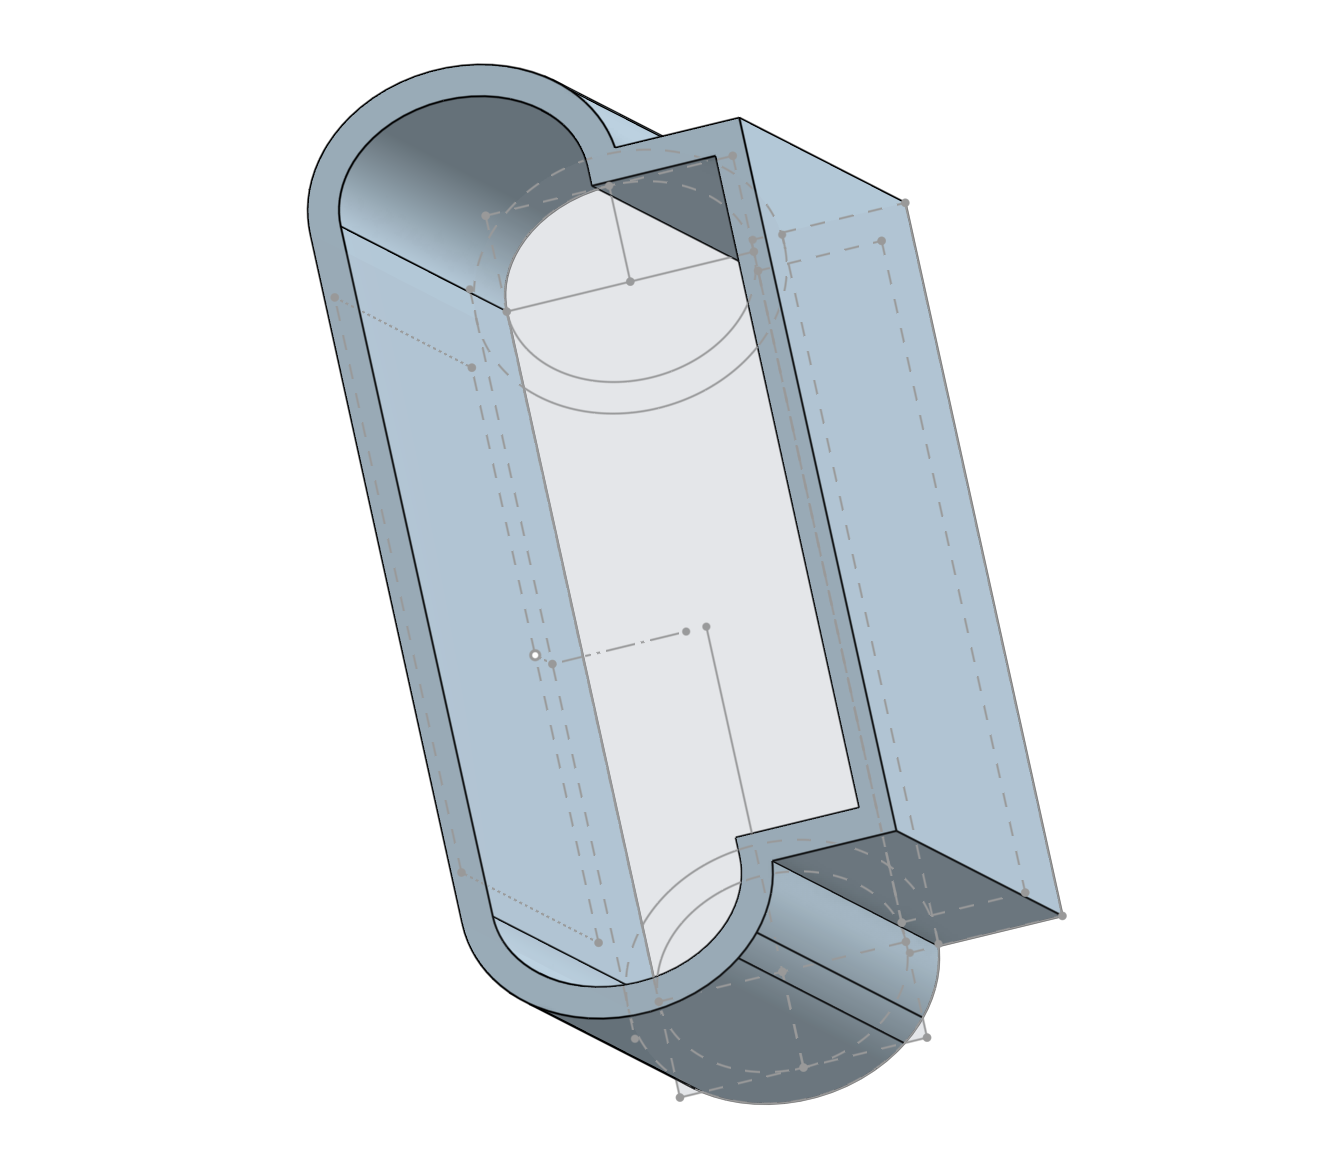
I expanded from the sketch to create a 3D shape. I used thin slices of this shape to print test models and adjust fit and measurements for a perfect fit and to avoid wasting full prototype just for it not to fit.
Softening edges
The above shape was great for the internal fit of remotes, but wasn't very hand-friendly. So I added chamfering (rounding off sharp edges to make them smoother) to make the shape smoother and more comfortable to hold. I also added a slight angle to the top to give it more personality and expose more of the speakers' remote.
Addressing cutouts
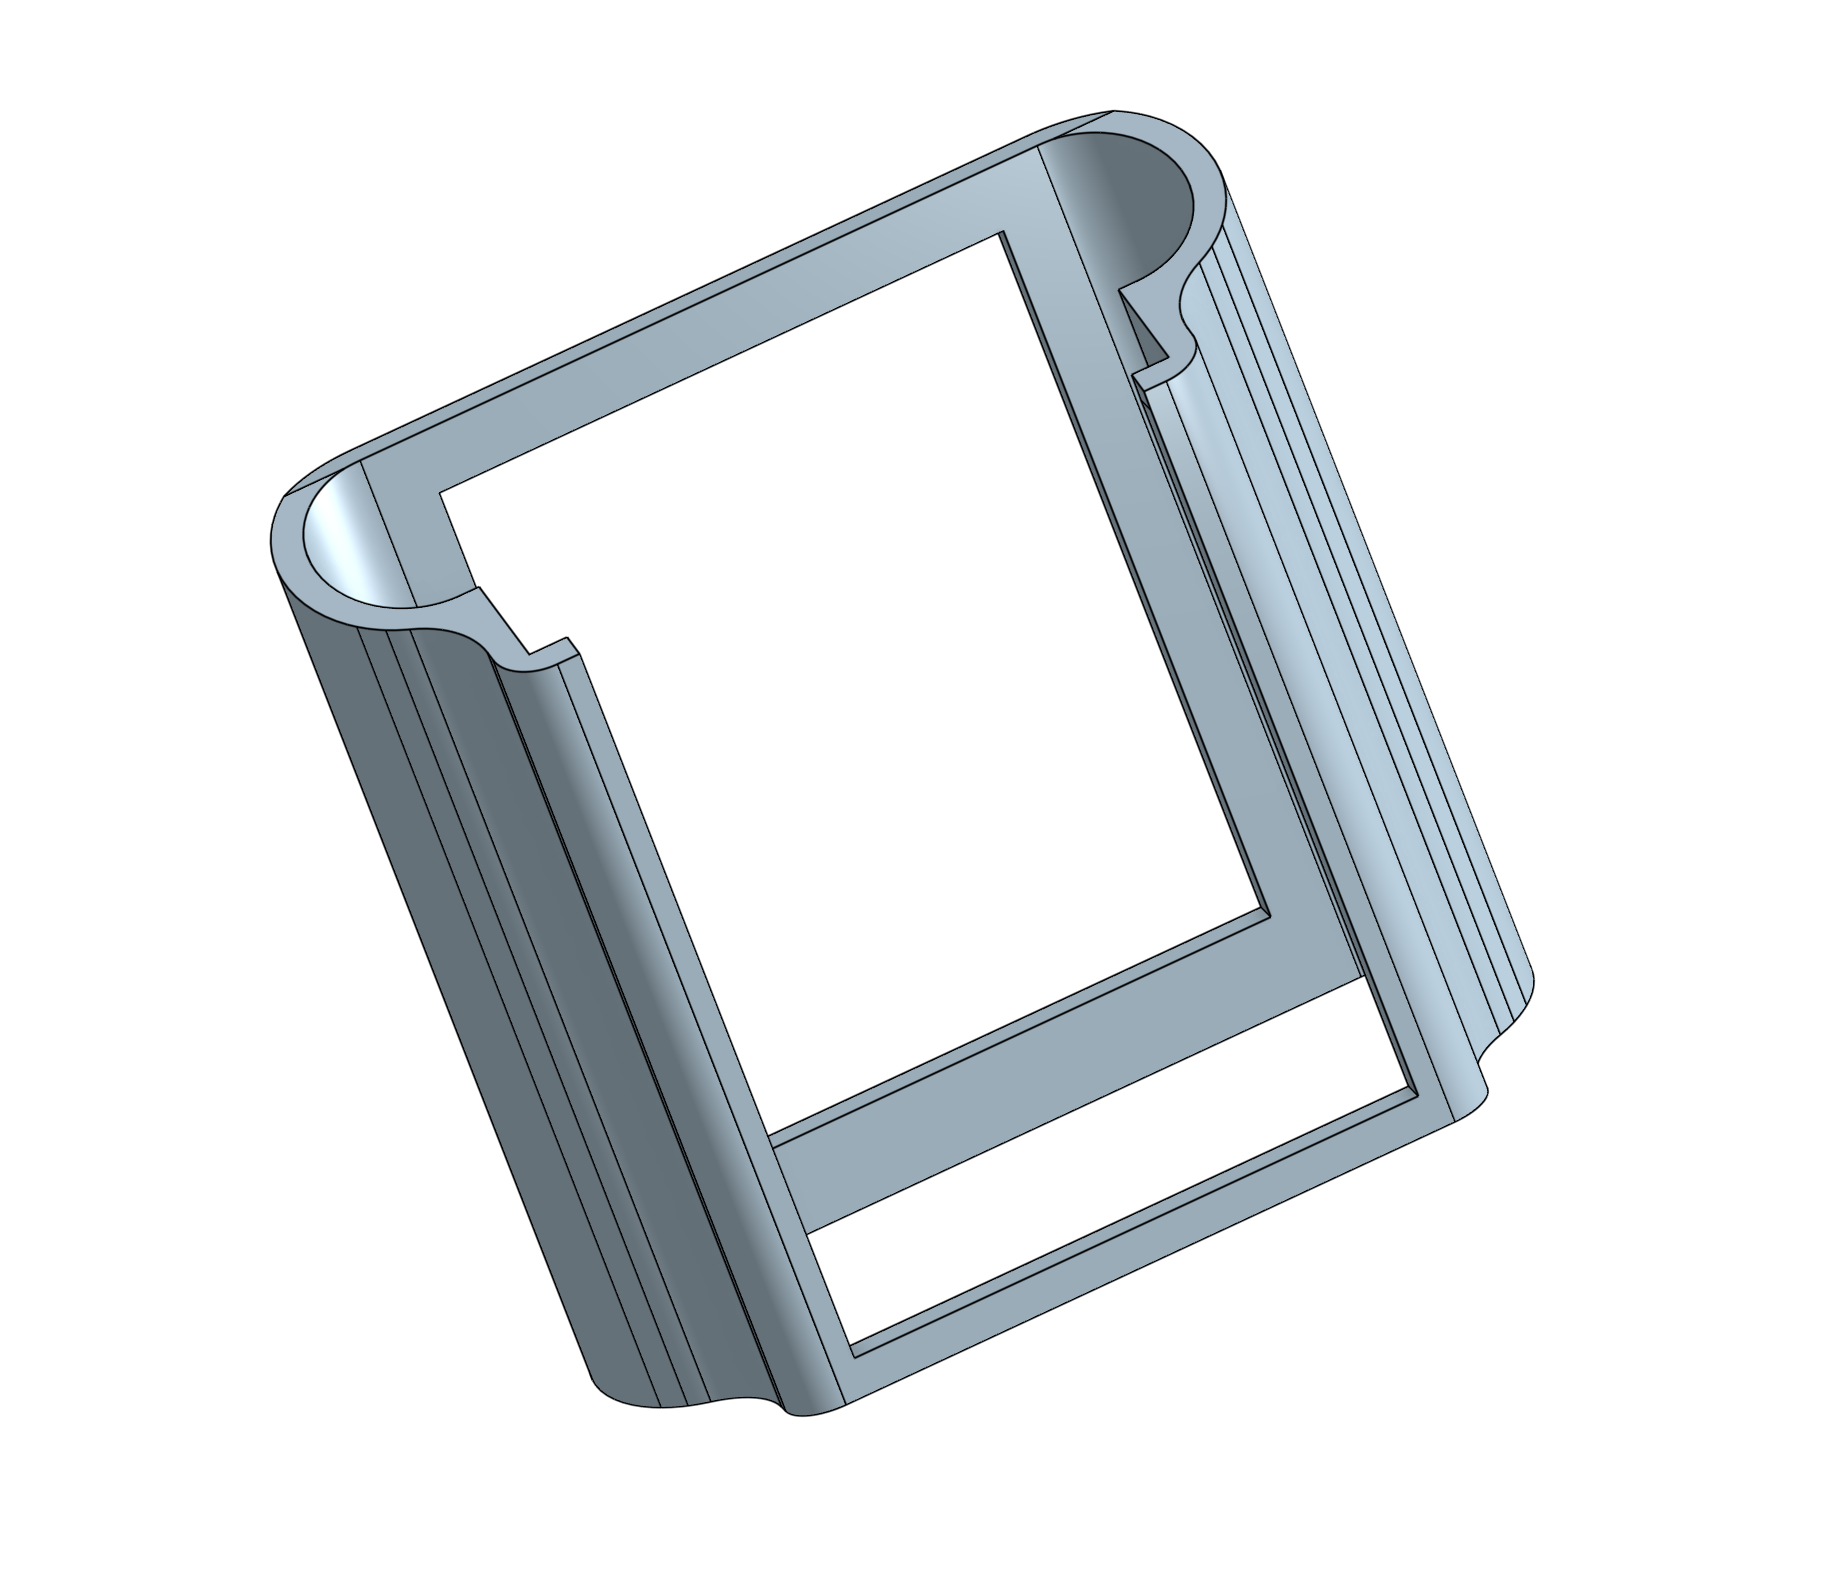
I added a hole for the solar charging panel and rails for the speaker remote to sit in properly whilst exposing the buttons. Remote was in use in another room so i kind of eyeballed the measurements for the solar charging window assuming first iteration will need further refinements anyway.
Further humanising the design

Once I was happy with the overall shape, I added more chamfered edges to:
Optimise the design for support-free 3D printing, avoiding wasted material and potential quality degradation
Eliminate pointy edges for better ergonomics
Final touches
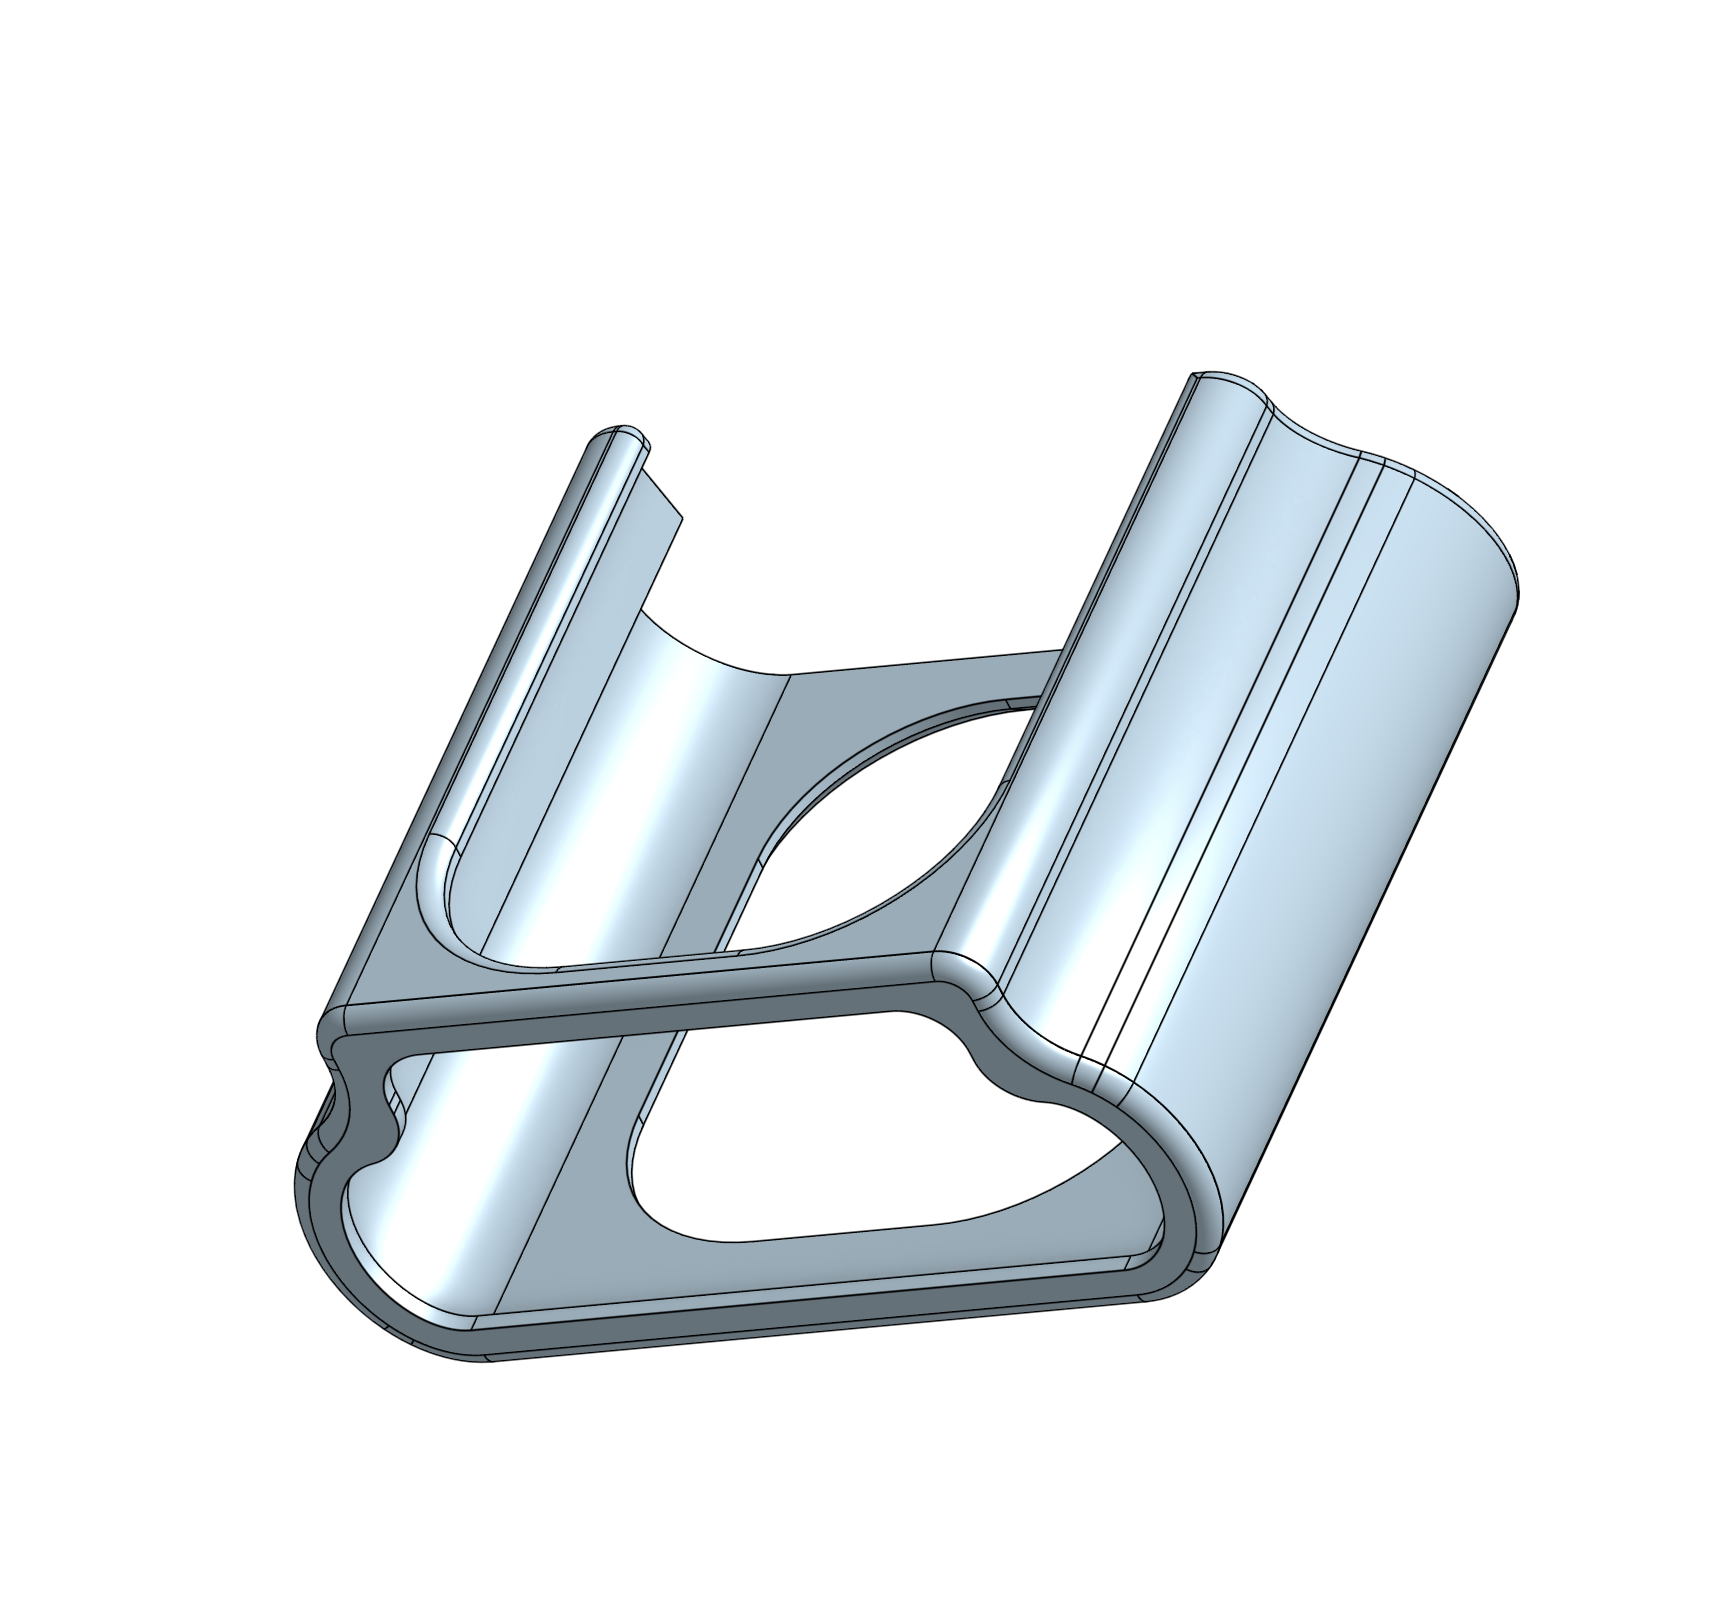
I added an end cap so the remotes sit nice and snug with something to rest against for perfect alignment.
Manifesting design into meatspace
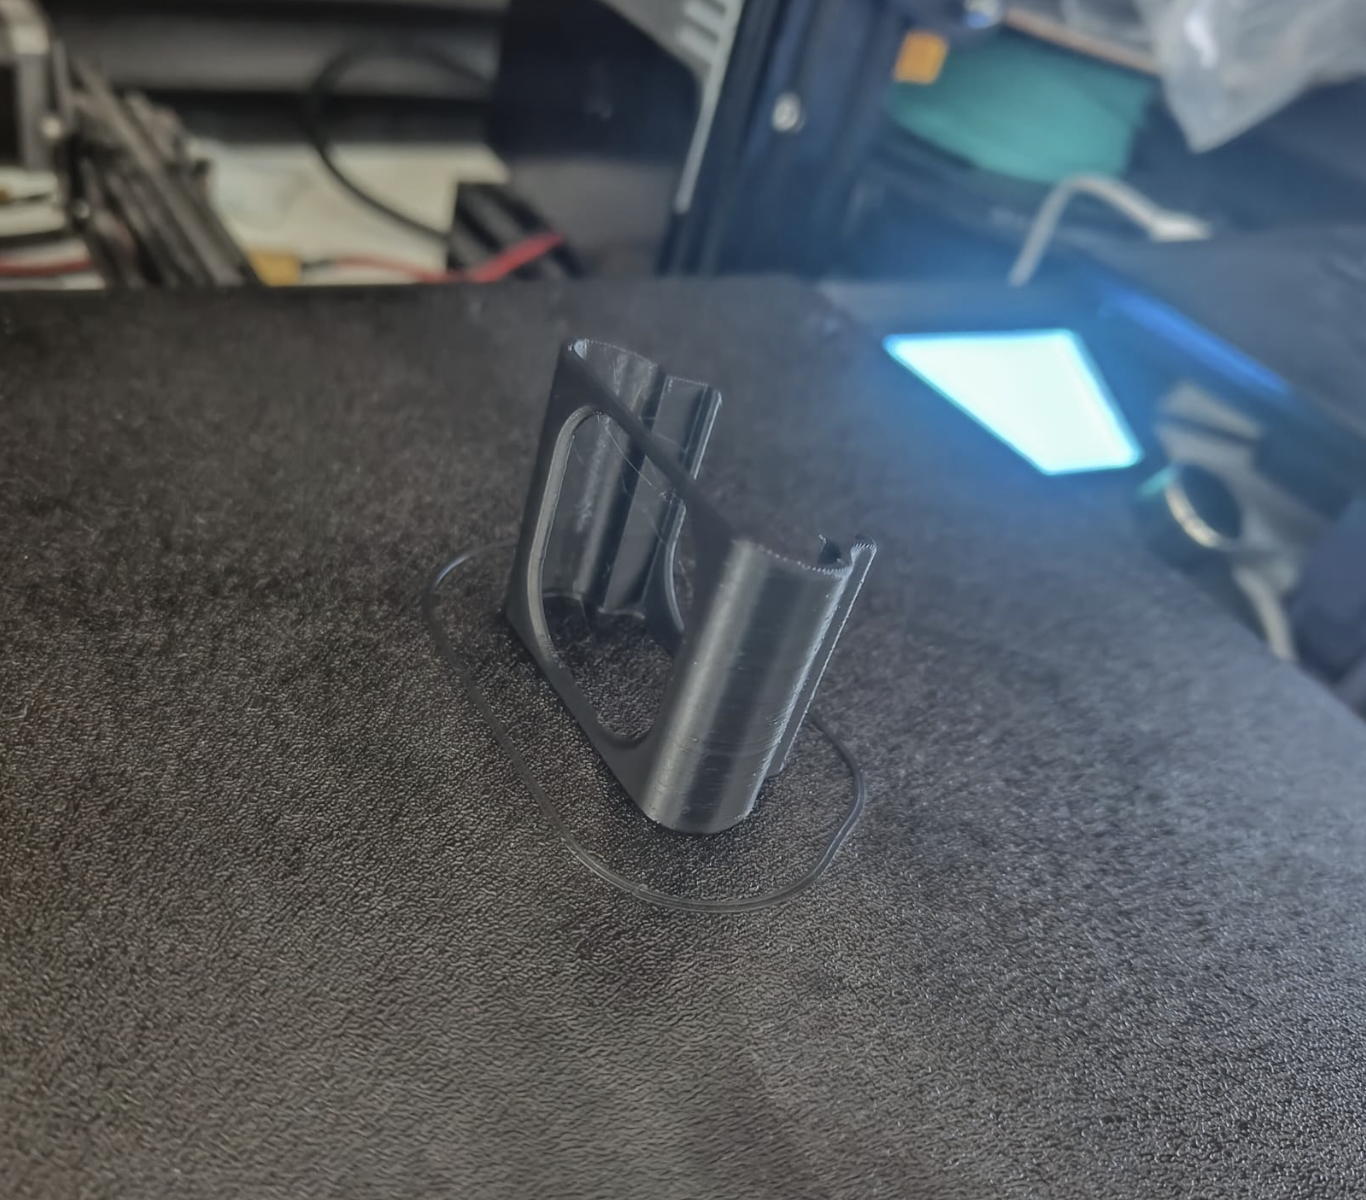
I printed this on my heavily modified Ender 3 with an SKR Mini E3 mainboard. Slicing it at 0.16mm layer height, the print took about 1 hour 20 minutes.
MK.1
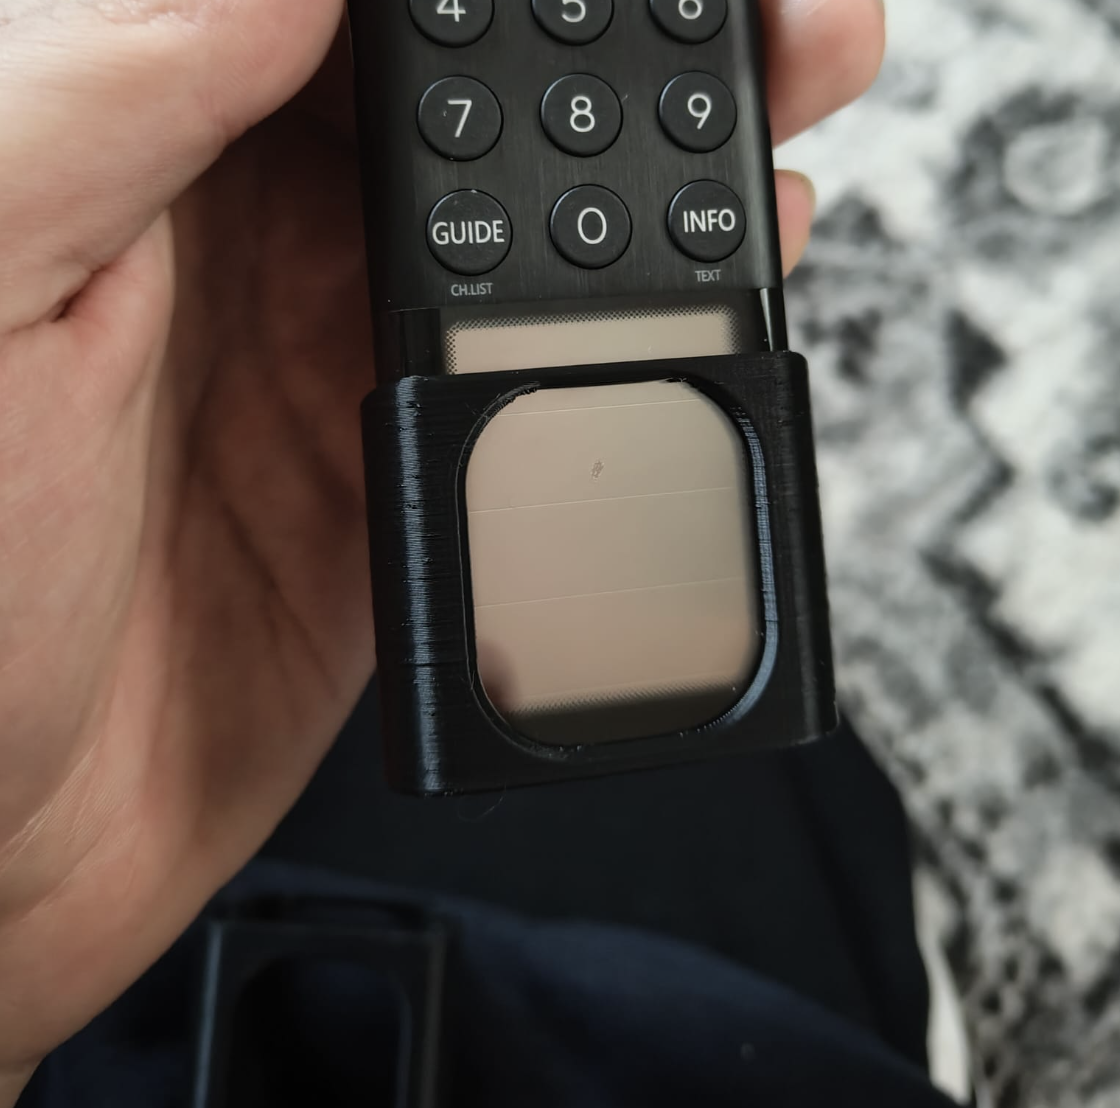
As mentioned above, since the remote was in use by my partner in another room, I kind of eyeballed the dimensions for the solar panel and ended up making the window comically small. Since I'd done everything using a bunch of magical variables, fixing this should be easy... right?
MK.2
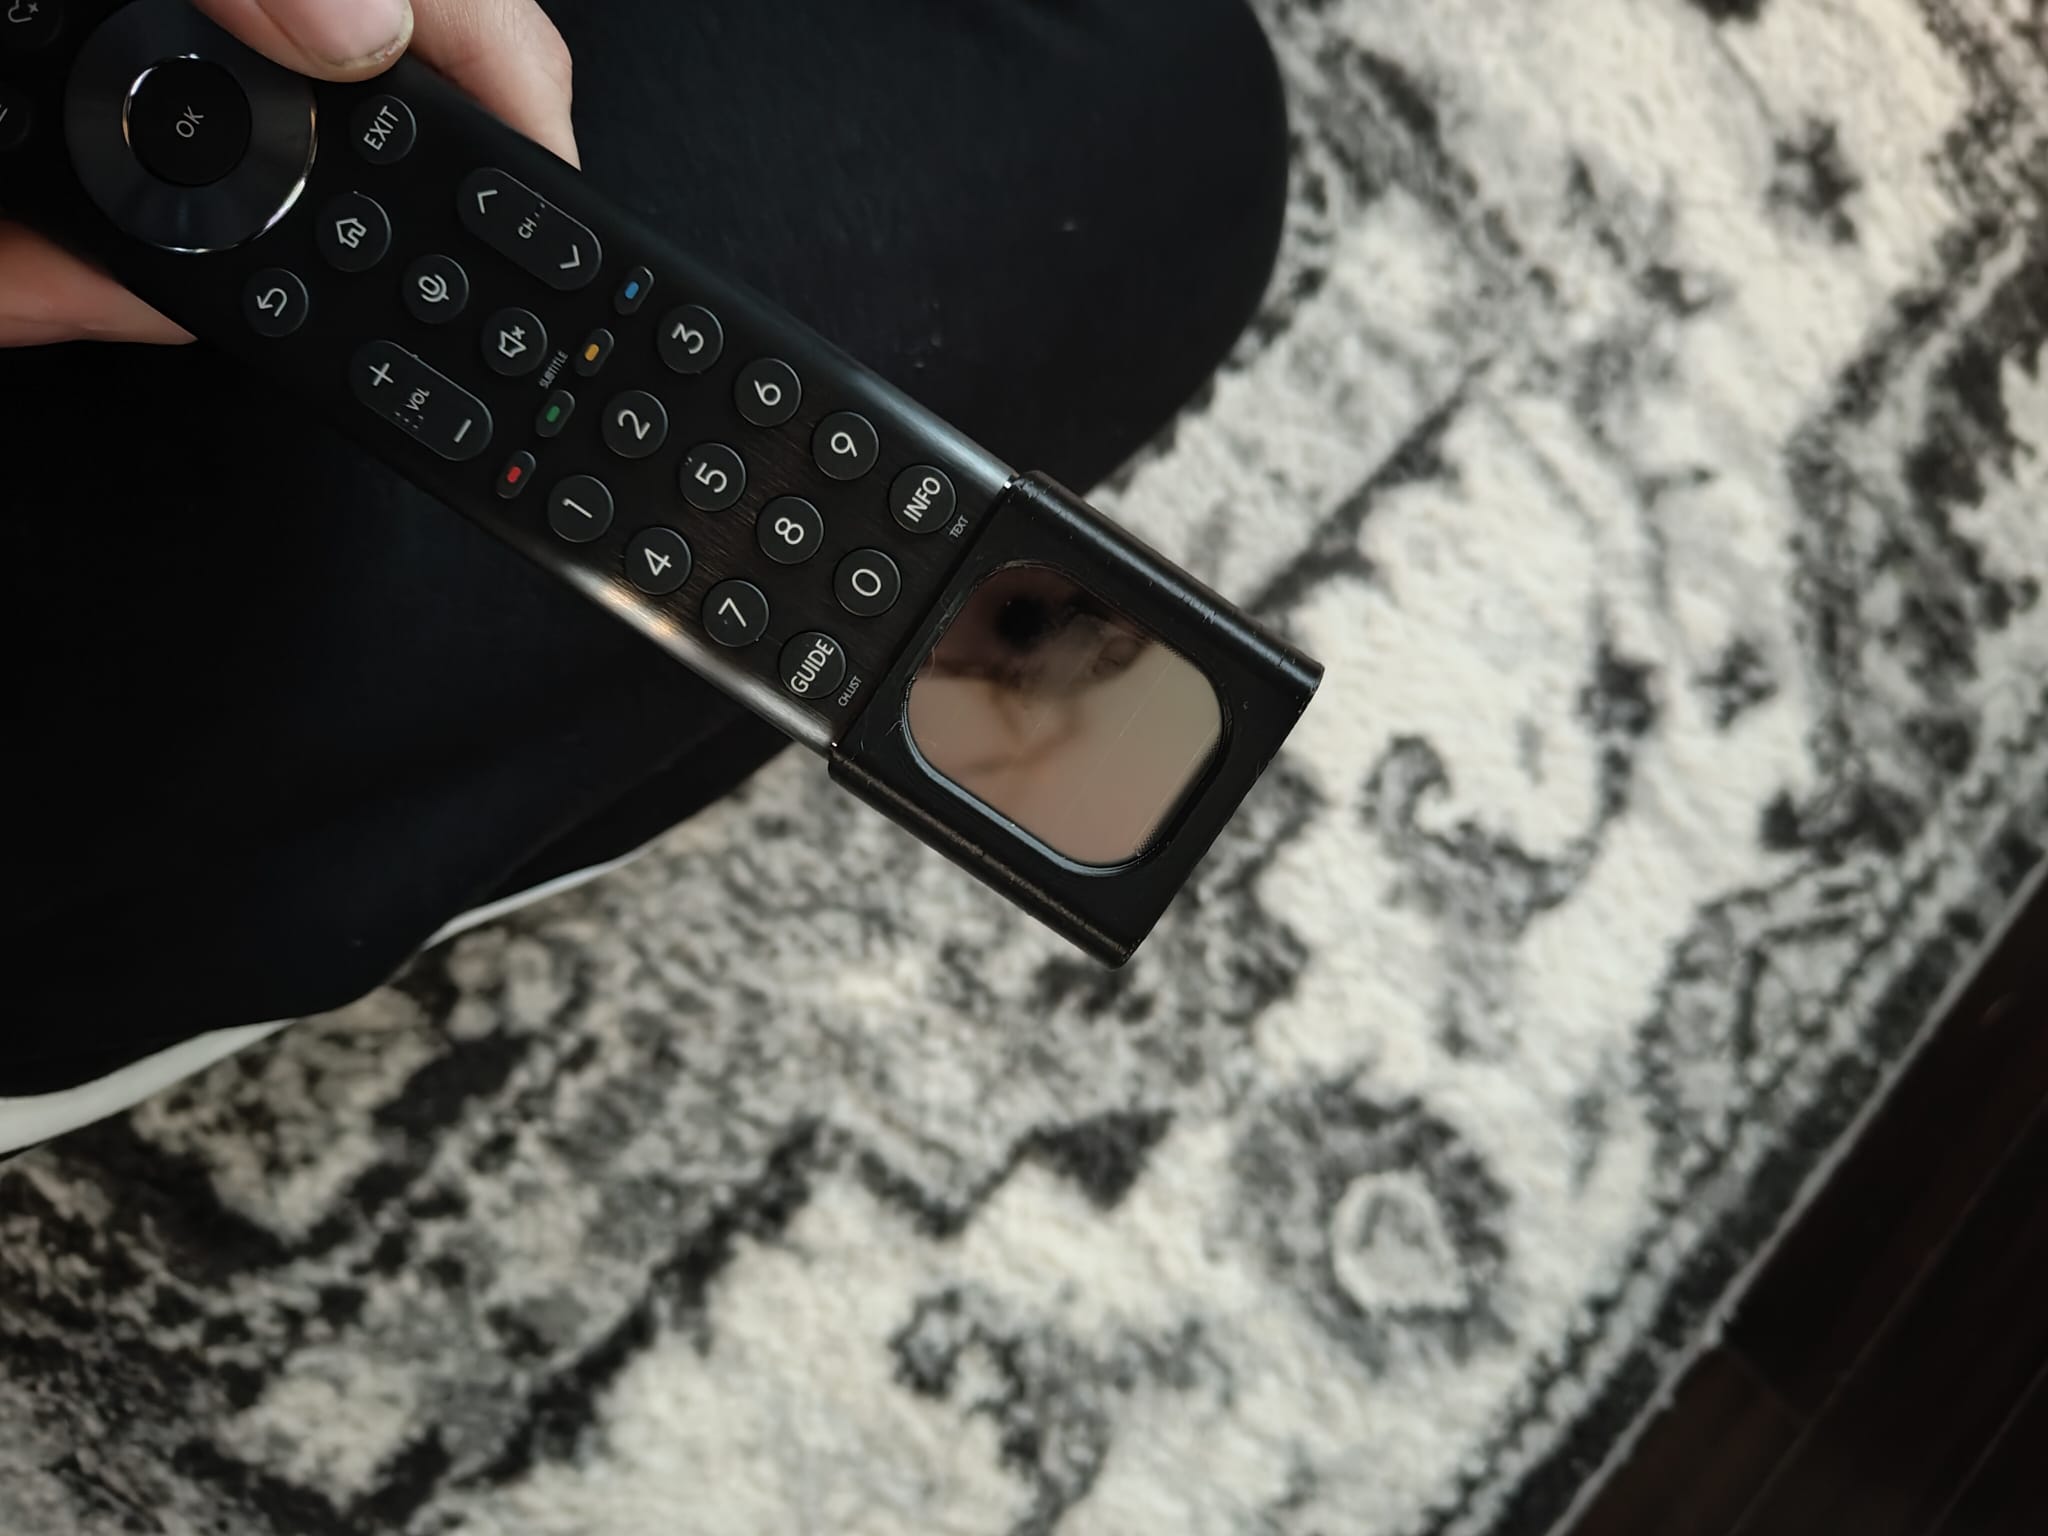
Fixing this was (for once) actually easy. I changed the variable defining the size of that window, beefed up the top and bottom margins to make it a bit more substantial, and 1 hour 25 minutes later I had a second iteration which might be final.
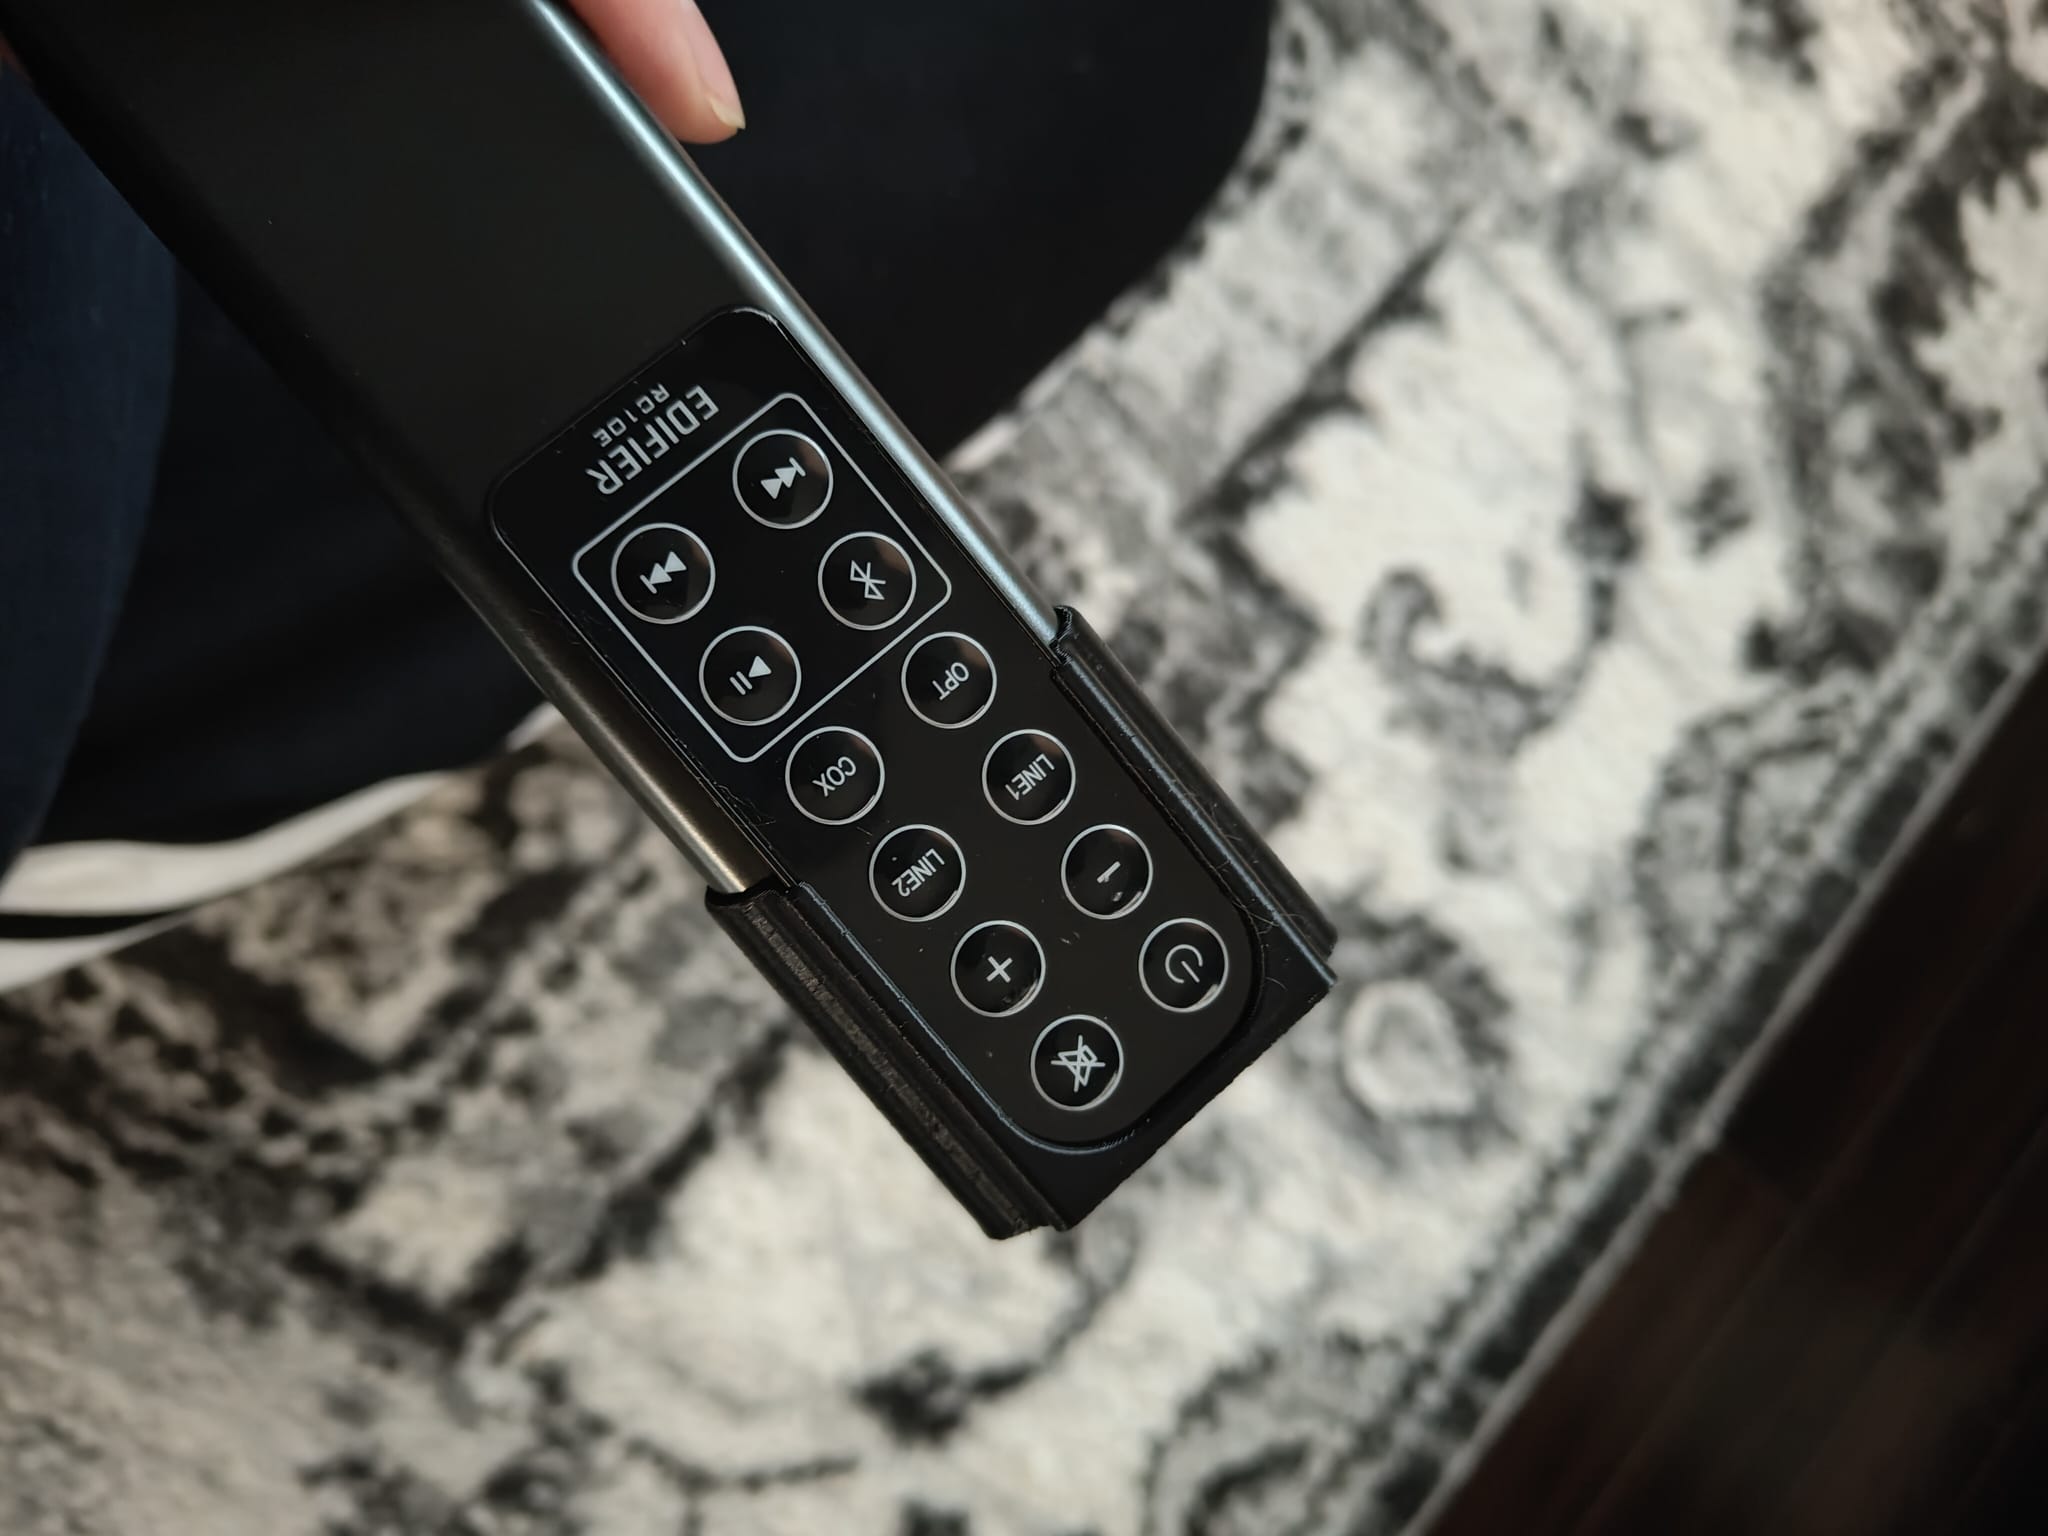
Underside now carries the speaker remote and now i only have single remote to loose on the sofa.
So far I've been testing it for a couple of weeks and it works great.
FAQ
Addressing some common sense questions:
Could this have been solved by double-sided tape? Yes
Would using tape have saved me 2 hours of 3D design work and about 3 hours of printing? Yes
Would it have been as fun to design and use if it was just taped together? Possibly not